

Slate coasters are the best-moving item on my craft fair table and the one that cost me the most scrap while I was learning. The stone is not flat, not uniform, and not forgiving. It chips at the edge if you bump it, and a finished piece can come off the bed looking like it spent the night in a chimney. None of that is a reason to skip slate. It is a reason to have a method in place before you commit sixty pieces to a Saturday.
I have run four batches of the MONKEY SUN 60 pack through my machine now, the 4 x 4 inch square ones with the rough natural edge, and what follows is the process I settled on. It assumes a hobby laser in a garage, a shop vac, and a morning you are willing to spend testing instead of selling. Sixty pieces gives you room to ruin a handful on purpose and still fill a table.
Sixty pieces is enough to learn on and still have a table to sell from
The MONKEY SUN pack is 60 square natural slate coasters, 4 x 4 inch, with a handmade rough edge and a hand wash only finish. That count matters, because you can burn a test ladder, lose a few to chipping, and still bring sets to a fair.
Amazon Check Today's Price on Amazon →Step 1: Sort the batch before you burn anything
Sixty pieces of natural stone do not arrive identical and you should not treat them that way. I dump the box on the bench, wipe each tile with a damp rag, and stand them on edge overnight to dry. The listing says hand wash only and I take that seriously. A dishwasher cycle on slate is how a person ends up with a box of shards, a ruined rack, and nobody to blame.
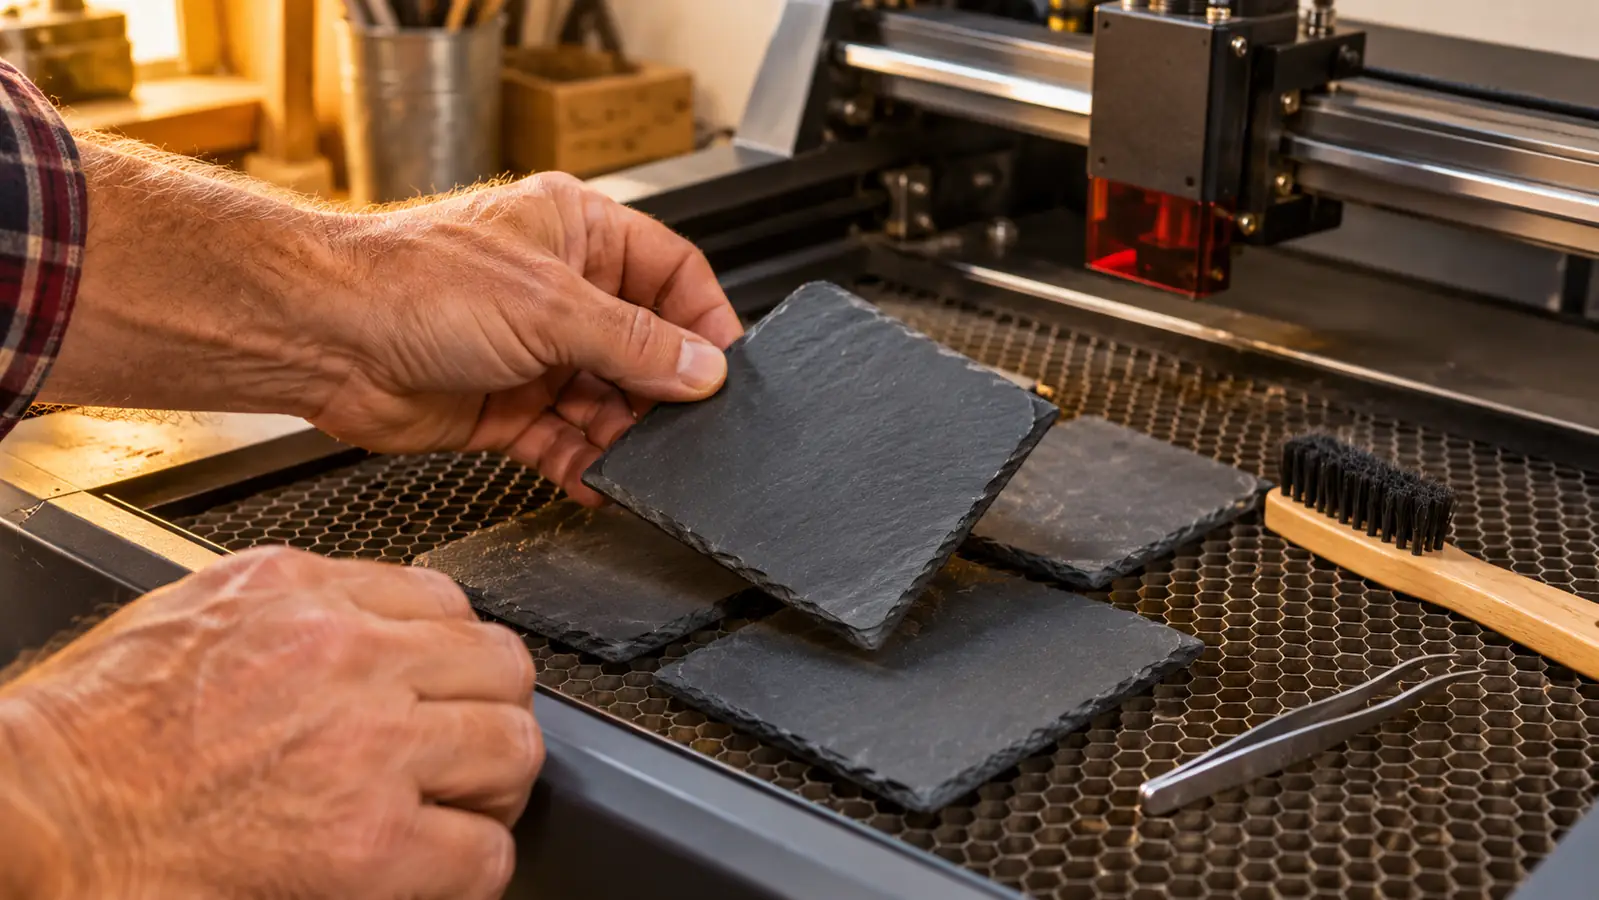
Then I sort into three piles. The first pile is flat, meaning the tile rocks less than a sixteenth of an inch when I press a corner down on the bench top. The second rocks more than that. The third is chipped, cracked, or has a rough edge running straight into the spot where the design will land. That third pile is not scrap. It becomes the test pile, or the painted pile, or the set I sell cheap to a neighbor who does not care about a chip on the back.
Sorting costs me about fifteen minutes for a full pack and saves an hour of re-cutting later. A coaster that shifts mid job means restarting the job, and slate dust gets into every corner of the machine while you dig the piece out. Pair the sort with a quick thickness check if you own calipers. Anything more than a thirty-second of an inch off the norm goes in the pile that gets extra attention at focus time.
Step 2: Find real focus height on stone that is not flat
On plywood, focus is one number. On slate it is a range. The surface of a single 4 x 4 inch tile can wander enough that one corner engraves crisp and the opposite corner washes out, all within the same run and the same settings. If you set focus in the middle and call it done, you will spend the afternoon wondering why half of every design looks soft.
I focus on the highest point of the tile, not the middle. That means jogging the head around the perimeter, finding where the stone sits proudest, and setting the gauge there. A little extra distance over the low spots is more forgiving than being too close over the high ones. Too close on slate means a crater, and a crater means a chip, and a chip means the piece goes in the seconds bin before the run is finished.
Use a focus gauge or a ramp on a scrap tile the first time, then write the number on the back of the stone in pencil and copy it into a notebook. You will not remember it in three weeks and the machine will not tell you. I keep a stub of pencil and a cheap caliper in the same drawer as the lens wrench, so there is no excuse to skip the step when I am in a hurry.
Step 3: Run a power ladder on one coaster
Take one coaster from the flat pile and burn a grid of nine small squares on it, each square at a different combination of power and speed. Ten minutes of work, and it tells you more than any settings chart online, because it is your tube, your lens, and the humidity in your garage that particular morning. Nobody else's numbers transfer cleanly to your machine, and pretending otherwise is how beginners burn a whole pack finding out.
On slate you are chasing contrast, not depth. The mark should come out a pale gray against the dark stone, clean edged and even. Push the power and the stone fractures and spits, and the engraving goes muddy around the border. Back off too far and it looks like a photocopy of a photocopy, visible only when the light hits it at the wrong angle, which at a fair is most of the time.
Label each square on the back with a pencil before you run it, or you will have nine identical looking patches and no memory of which one you liked. The ladder tile lives in a drawer in my bench with the winning settings written on the stone itself. I re-run the ladder whenever I change a lens or a belt, and I do not apologize for the ten minutes it costs.

Step 4: Mask the surface, engrave, and handle the soot
Slate throws a fine dust and it settles straight into the engraved area. Tape helps, but on a rough natural edge it will not sit flat all the way into the corners, so do not expect a perfect seal. I still use it, and I press it down hard with a squeegee, because cutting cleanup in half is worth ninety seconds of my Saturday.
Pull the tape while the tile is still warm, or the adhesive grabs grit and smears it back across the design. Then go over the engraving with a stiff nylon brush, followed by a barely damp cloth. Not wet. Slate is porous at the edge and a soaking shows up later as a dark ring that never quite leaves, usually on the piece you just sold to somebody at the last fair of the season.
If a design comes out patchy, do not run it again on top of itself. A second pass over the same mark almost always looks worse, because the first pass already changed the surface of the stone. Set the tile in the seconds bin, take a fresh one from the flat pile, and fix the focus instead of the artwork. Nine times out of ten it is focus and not the file.
Step 5: Finish the back, label the set, and pack for the table
I leave the rough edge alone. That edge is why people pick the coaster up at a fair in the first place, and sanding it just makes a square of stone look like it came from a hotel lobby. What I do finish is the back, with a small self adhesive felt pad in each corner so the coaster does not scratch a table and does not slide when a glass goes down on it.
Sets of four move better than singles at a church bazaar. I stack four, tie them with a length of jute, and hang a small tag with the design name on it, plus a line reminding the buyer to hand wash and dry it. Carol runs the table and she has told me more than once that a tagged set gets picked up and an untagged stack gets walked past.
Transport is where people lose product. Stone on stone in a plastic tub will chip on the drive over no matter how carefully you pack it. I line the tub with a towel and put a sheet of newspaper between each stack. The seconds go in their own small bin at the front of the table with a card saying exactly what is wrong with each one, because honest labeling moves them faster than pretending they are perfect.
What Else Helps
Lighting on the table matters as much as the engraving. Under a warm bulb in a church hall, a shallow mark on dark stone reads as blank, and people walk past a design they would have bought. I bring two small battery puck lights and set them low and angled across the surface so the engraving catches a shadow. Same coaster, different sale, and the lights fit in a coat pocket.
Have three designs, not twenty. I run a monogram, a simple lake and pine scene, and a kitchen set that looks like a recipe card. Depth in a small catalog beats breadth, because you get the settings dialed and you stop re-testing every week. The MONKEY SUN tiles are consistent enough from piece to piece that once the settings are right they stay right, which is not something I can say for every box of stone I have bought.
Keep a dated notebook with the settings for each design and each material. I started mine in my second year and I should have started it in my first. When the machine sits idle for a month, the notebook is the only thing that gets me back to a known good starting point instead of burning a whole afternoon relearning my own work. I write the date, the material, the design, and the speed and power on every page.
Build a simple jig and stop eyeballing placement. A piece of scrap plywood with two strips of wood tacked down at a right angle gives you a corner to push every tile into, so the design lands in the same spot on all sixty. It takes ten minutes to make and it is the difference between a set that stacks neatly and a set that looks like sixty separate experiments.
Sell the care instruction with the piece, not after the complaint. Slate is stone. It will take a mark if somebody sets a wet glass down and leaves it overnight, and it should not go in a dishwasher. A small printed card in the bag costs almost nothing and heads off the conversation. I put my name and the design name on it too, which is where most of my custom orders come from.
Keep the shop vac within reach and use it between pieces. Slate grit on the bed rails is what throws a run out of square halfway through a set, and it takes about four seconds to clear. I vacuum the bed after every fifth tile whether it looks like it needs it or not. In a garage that doubles as a wood shop, that habit is the cheapest insurance I have found.
Take the custom order at the table only if you can deliver in two weeks. I write the design on the back of a business card, text a photo of the layout before I cut, and get a yes back before the laser runs. Slate is not the material to promise in a hurry, especially in a humid July, because a rushed batch is a batch you will be re-cutting on your own time with nobody paying for the scrap.
Sixty pieces means sixty chances to be wrong, and that is the point. You learn slate on slate, not on a sample sheet.
You will ruin the first four. The next fifty six are the ones that sell.
The MONKEY SUN 60 pack is square natural slate, 4 x 4 inch, with a rough handmade edge and a hand wash only finish. Run your ladder, find your focus, and still load a table.
Amazon Check Today's Price on Amazon →