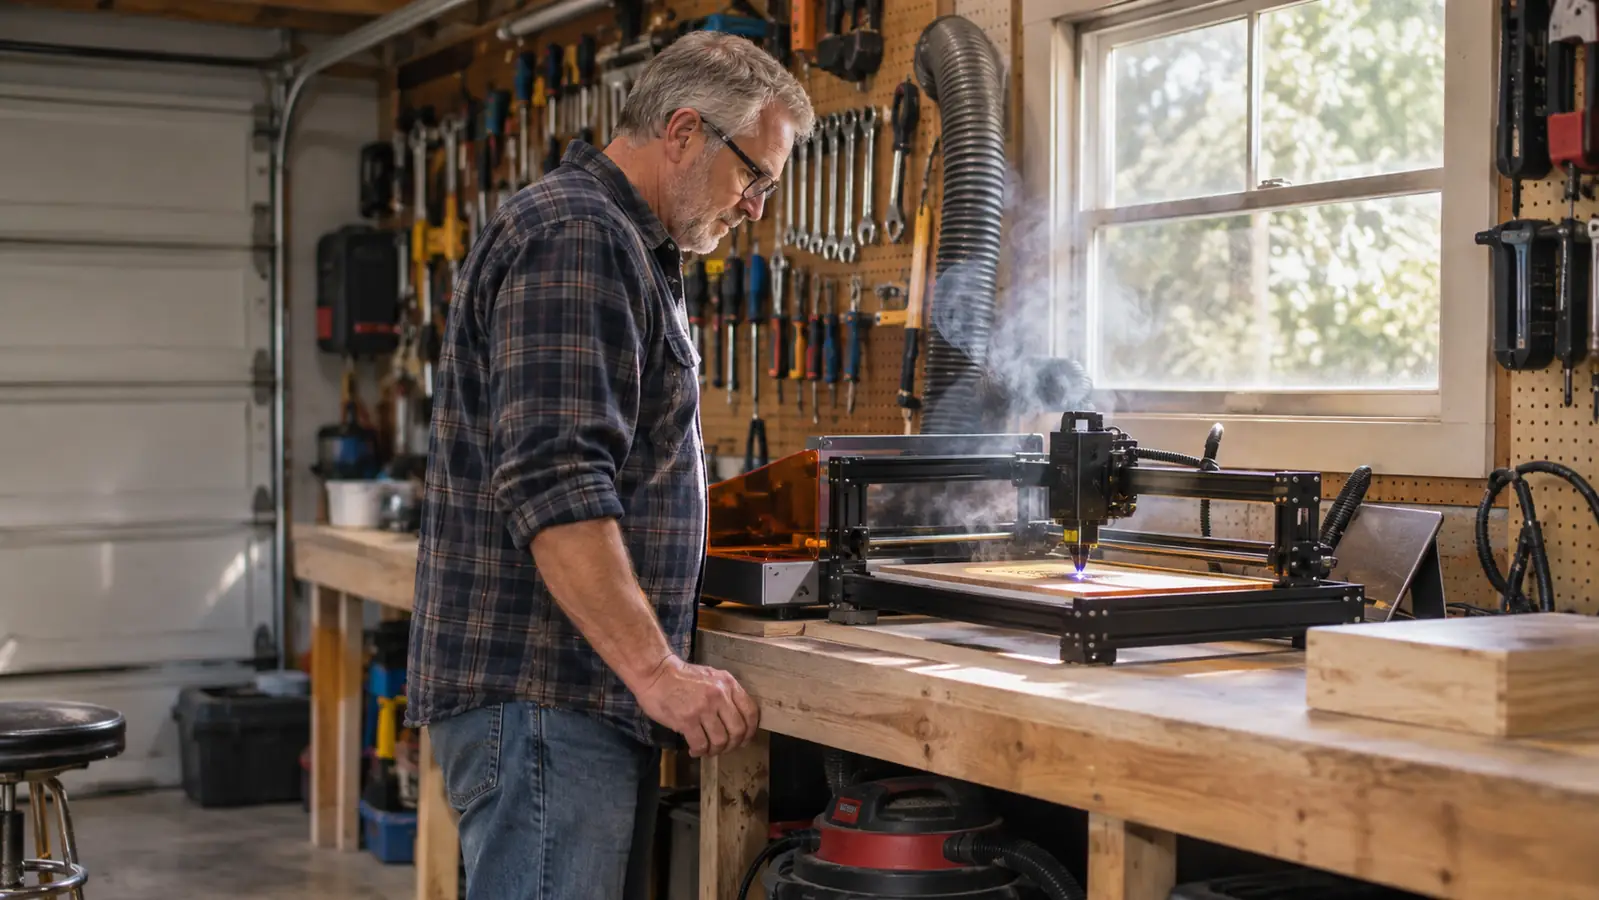
The first thing I tell anybody who asks about starting a laser in their garage is that the machine is the easy part. The hard part is everything around it. Where the smoke goes. What you set the workpiece on. How you keep a piece of slate from drifting a quarter inch halfway through a job and ruining an hour of your Saturday. I am 58, I retired out of HVAC work, and I have had a Twotrees TTS-10 Pro sitting on the bench along the back wall of my one-car garage for a while now. Most weekends there is a cutting board or a stack of coasters on it.
Before that I did what most beginners do, which is watch a pile of videos, buy a machine, and then discover that nobody explained the boring parts. The venting. The focus. The fact that a piece of material will move if you do not hold it down. So this is the order I would do things in if I were starting over this weekend, using the TTS-10 Pro as the example because it is what I know. Five steps, and none of them involve buying more gear than you need.
A work area that fits a whole cutting board, not half of one
The Twotrees TTS-10 Pro runs a 300x300mm bed, about 11.8 inches square, and the box already includes the air assist pump and tubing. That means the two things beginners usually have to buy separately are already in there. Read the 731 reviews and check today's price before you decide.
Amazon Check Today's Price on Amazon →Step 1: Solve the smoke before you unbox anything
A one-car detached garage is a good workshop and a bad clean room. It has a door that opens to the weather, a concrete floor, and enough depth for a bench along the back wall. What it does not have is airflow. Burning wood and leather makes smoke you can see and fumes you cannot, and a diode laser makes both. I vent through the window at the end of my bench with 4-inch duct and an inline fan, and I leave the service door cracked an inch so replacement air has somewhere to come from. Seal the room tight and the fan just spins.
Clear the bench before the machine arrives, not after. Take everything off it, including the cardboard box you plan to store stuff in, because that box is fuel. Move the gas can to the other side of the garage. Hang a small ABC extinguisher on the wall within arm's reach of the bench, and put a shop vac where you can grab it without stepping over anything. I have never had a fire. I have had two jobs where a thin piece of stock started to glow at the edge, and both times I was standing right there.
The other thing to sort out in step one is your own eyes. The blue diode light is not a toy, and the reflected glare off a metal surface is worse than the direct beam. I keep safety glasses on the bench and put them on before the job starts, not when I remember. If you wear readers, get a pair of safety glasses in the same prescription strength. You will be leaning in close to check focus constantly, and you will stop checking if you cannot see.
Step 2: Assemble it, square it, then measure the real bed
The TTS-10 Pro arrives with assembly tools, a TF card, a card reader, and the air assist pump with its tubing. Give yourself a solid afternoon and a clean stretch of floor. Build it on the bench where it will live rather than on the garage floor, because lifting a frame that has belts on it is a good way to knock things out of alignment before you have even run a job.
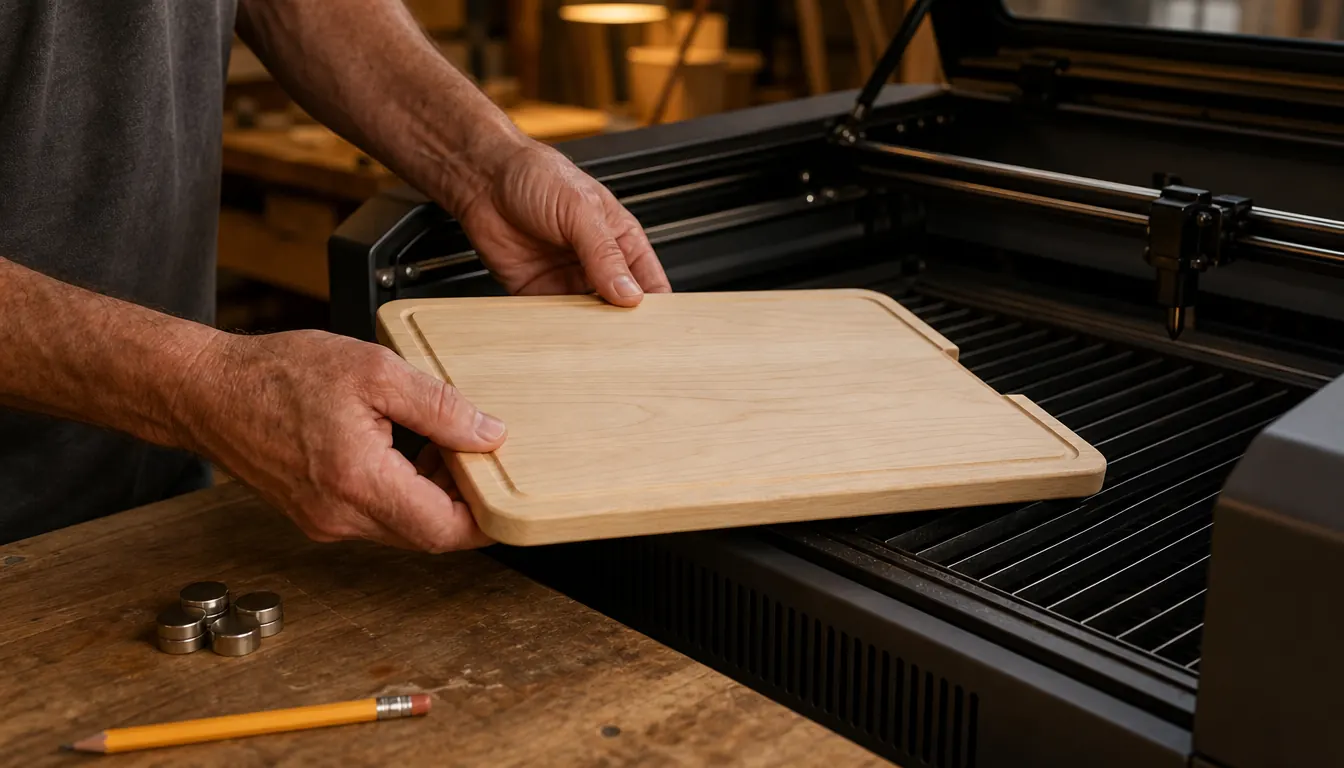
The advertised work area is 300x300mm, roughly 11.8 inches by 11.8 inches. Do not trust that number until you have measured it against your own bench and your own blanks. Set a cutting board on the bed, jog the head to all four corners, and see exactly where it stops. On my machine the usable area inside the frame is a hair smaller than the spec, which matters when you are trying to squeeze a row of six coasters into one pass. Knowing the true corners saves you from clipping the edge of a job.
Two things to check before the first burn. First, that the frame sits flat and does not rock. Slip a shim under a corner if it does. Second, that the belts have a little tension but are not guitar strings. A loose belt makes wobbly lines and a tight one wears the machine. The mainboard on this unit is a 32-bit dual-core, which means it processes jobs quickly, but it cannot correct a frame that is out of square. That part is on you and it takes ten minutes with a tape measure.
Step 3: Learn focus on scrap, never on a customer's board
This is the step beginners skip and then blame the machine for. Focus is the distance from the lens to the top surface of the material, and it has to be set for every different thickness you run. A maple board and a slate coaster are not the same height, so the setting you used on one will be wrong on the other. Follow the manual's focal distance, set it with the gauge or spacer you make for yourself, and check it again if you change materials mid-session.
Then make a test grid. Take a scrap of maple, draw a three by three grid on it with a pencil, and run the same small design at nine different combinations of power and speed. Label each square in pencil as it finishes. Keep that tile in a drawer with the material it was cut on. Within an hour you will know what setting gives you a light mark, a medium mark and a deep brown burn on that species, and you will never guess again.
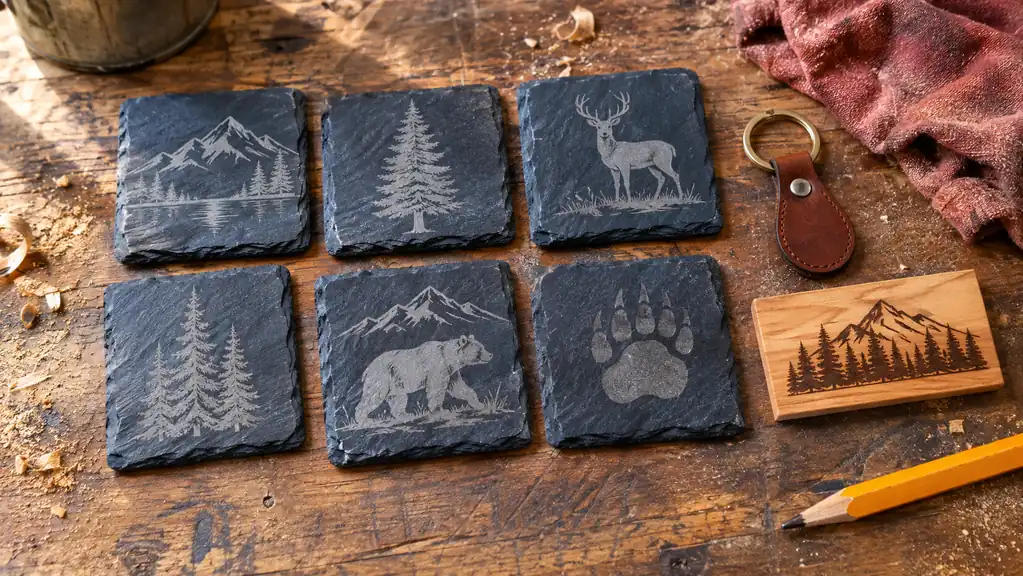
Do the same for slate and for leather. Slate engraves light and wants more power than you would expect. Leather burns fast and wants less. Write the numbers on the tile. Three or four test tiles will cover most of what you make for a craft table, and they cost you nothing but offcuts and time.
The first forty pieces I made went in the burn pile. The forty-first is the one Carol put on the craft table.
Step 4: Fix your hold-down and turn the air on
A laser does not push on the material, so it is easy to assume the material stays put. It does not. The air assist moves it, the head moving moves it, and a slightly warped board will rock just enough to blur the line. I hold boards down with small magnets on a steel plate, and I tape slate and leather with painter's tape at two opposite corners. Nothing fancy. It just has to not move.
The air assist pump and tubing come in the box with the TTS-10 Pro, and beginners sometimes leave them in there because the machine seems to run fine without them. Run them anyway. Air blows the smoke and debris out of the cut, which keeps the lens cleaner and gives you a sharper burn line. On a 10W diode working through a deep engrave on hardwood, that difference is visible.
What you set the workpiece on matters too. A slatted bed lets smoke and debris fall through, but small pieces can drop between the slats. For coasters and keychains I lay a sheet of thin sacrificial plywood on top and let the laser cut a sixteenth of an inch into it. That keeps the work flat, catches the small parts, and the plywood is cheaper than the material you are ruining. Replace it when it gets chewed up.
Step 5: Build one job file you can run without thinking
Beginners tend to design something new every time they sit down, which means every session is a fresh set of problems. Do the opposite. Pick one item, for me it was a slate coaster, and build a single job file with a jig that puts the blank in the same place every time. Once that file is dialed in, you can run six coasters in a sitting while you are doing something else in the garage, and every one comes out the same.
A jig can be as simple as four scraps of plywood screwed to a board in a corner shape, with the coaster pushed into the corner. Set the origin once and you never re-align again. Load the job onto the TF card that came with the machine, run it off the card, and keep the card in the drawer with the jig. That is your production setup. Everything else is experimenting.
Only after you have a stack of good pieces should you take an order. When a neighbor asks for a name on a cutting board, you want to be running a file you have run twenty times, on material you have a test tile for, with a jig that holds it still. That is how you keep the work to an hour instead of a whole afternoon. Carol picks the designs and works the craft table; I run the machine. That split only works if the machine side is predictable.
What Else Helps
Three small things I would buy again. A cheap digital caliper, because focus changes with thickness and eyeballing a sixteenth of an inch is how you get a blurry edge. A notebook that lives on the bench, where you write down material, power and speed for every job that comes out well. And a marking compound for stainless, because a 10W diode will not touch bare stainless steel on its own, and tumblers are half of what people ask for.
Two things I would not bother with yet. A bigger machine, because 300x300mm covers a cutting board end, six coasters, a row of keychains and every sign I have sold at a church bazaar. And a pile of blank inventory before you know what actually moves. Start with a few maple boards, a sleeve of slate coasters and a bag of leather keychain blanks, learn what people pick up, then buy more of that. The Twotrees TTS-10 Pro is a 10W diode with a one year warranty, and it will handle all of that without you needing a second machine in the corner.
A ten watt diode will not fix bad focus, a loose workpiece or a smoky garage. It will just do all three faster.
What I Liked
- 300x300mm work area is big enough for a cutting board end or a full row of coasters in one pass
- Air assist pump and tubing are included, so you are not buying them separately in week two
- 32-bit dual-core mainboard processes job files quickly, which matters when you are batching
- Handles maple, walnut, slate and leather well once you have test tiles for each
- One year warranty from Twotrees
Where It Falls Short
- The box contents are the TF card, card reader, assembly tools and air assist, so venting and any enclosure are on you
- A 10W diode will not mark bare stainless without a marking compound
- It will not cut thick stock, so thicker signs have to be engraved rather than cut through
- Clear acrylic and similar materials are not what a diode like this is for
Get the machine, then get the first ten pieces out of the way
Every hour you spend on venting and focus before your first order is an hour you do not spend remaking a board. The Twotrees TTS-10 Pro gives you the work area and the air assist to start, and the rest of these five steps cost you offcuts and a Saturday.
Amazon See the Twotrees TTS-10 Pro on Amazon →